Tutorial Photoshop
- SIMPLE HDR -
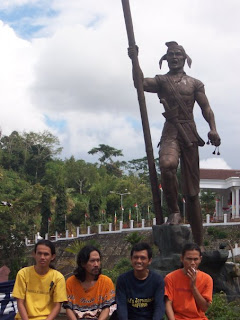 |
| Sebelum |
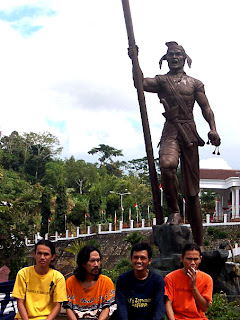 |
| Seeudah |
- Pilih daerah yg mau di hdr dgn marquee tool.
- Copy foto dgn ctrl + j
- Klik kanan pada foto delayer trus convert to smart object
- Images + adjustment + shadow/highlight (diatur dah disitu)
- Ke layer creat new fill + curves (diatur lg dah disini)
- Kembali ke layer 1 (pd layer)
- Images + other + highpass (diatur juga disini)
- Trus ganti normal dgn overlay
- Jadi dah
- Link - http://www.youtube.com/watch?v=FxT6t9Vep_4&feature=related
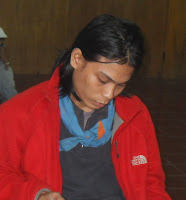 |
| Sebelum |
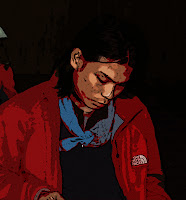 |
| sesudah |
- buka foto (background)
- copy foto (blur + surface blur = diatur aja) background copy
- copy lg layernya (background copy 2) image + adjustment + desaturate
- lalu ke channels,RGB (ctrl + klik) muncul garis2 putus2 pada foto
- select + inverse
- buat layer baru (layer 1)
- edit + fill (use black)
- lalu matikan mata background copy 2 dan layer 1
- klik background copy ( filter + artistic + cutout = diatur lg aja)
- copy background menjadi backgroung copy 3 + softlight
- lalu ke background copy 2 = filter + artistic + poster edges = diatur aja lg + multiply, lalu image + adjustment + level = ditur lg
- lalu ke layer 1 (ctrl + klik = akan muncul garis putus2),add vector mask,filter + pixelate + color halftone = diatur lg, image + adjustment + invert (overlay)
- link (http://www.youtube.com/watch?v=unyiHx-v11g&feature=related)
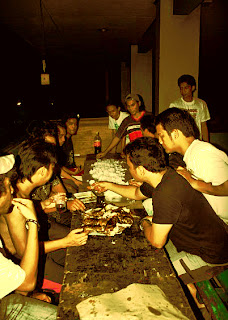 |
| Sebelum |
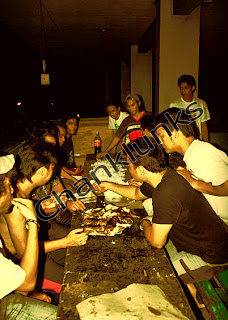 |
| Sesudah |
- buka foto
- create new action (lihat tanda merah ngerekam)
- tulis terserah di foto (diatur aja besar,warna, and jenis tulisan)
- add layer style + stroke (diatur aja warnannya), atur opacity
- layer + flatten image
- lalu stop record di action dekat tandah merah yg diawal td
- jika mau gambar selanjutnya dibuat dgn tulisan yg sama maka (buka foto + play record)
- jika mau 1 folder maka (file + automate + batch),lalu pilih choose.(maka akan automatis ditandai dengan tulisan yg pertama td.
- link (http://www.youtube.com/watch?v=GRhaXXVnhAQ)


Tidak ada komentar:
Posting Komentar